Connecting an AWS Account
Sections
Integration Concepts
The integration consists of three sections:
-
The user will first initiate the integration on the PureCloudOps Portal. Creating a new plugin from the Integration section will generate a unique External ID for use in the client AWS account.
-
PureCloudOps provides AWS CloudFormation scripts for the user to create AWS resources for the integration. Executing the CloudFormation with the External ID, will create AWS resources.
-
The final step will test the above AWS configuration in the PureCloudOps interface. Once the test is successful, the user can complete the rest of the integration.
PureCloudOps Web Interface (Part 1)
Login to the PureCloudOps Cloud portal: https://{account-name}.app.fluencysaas.com/
Start page
On the Start page, choose the Add AWS Account connection option, under Connected Accounts to add a new account.
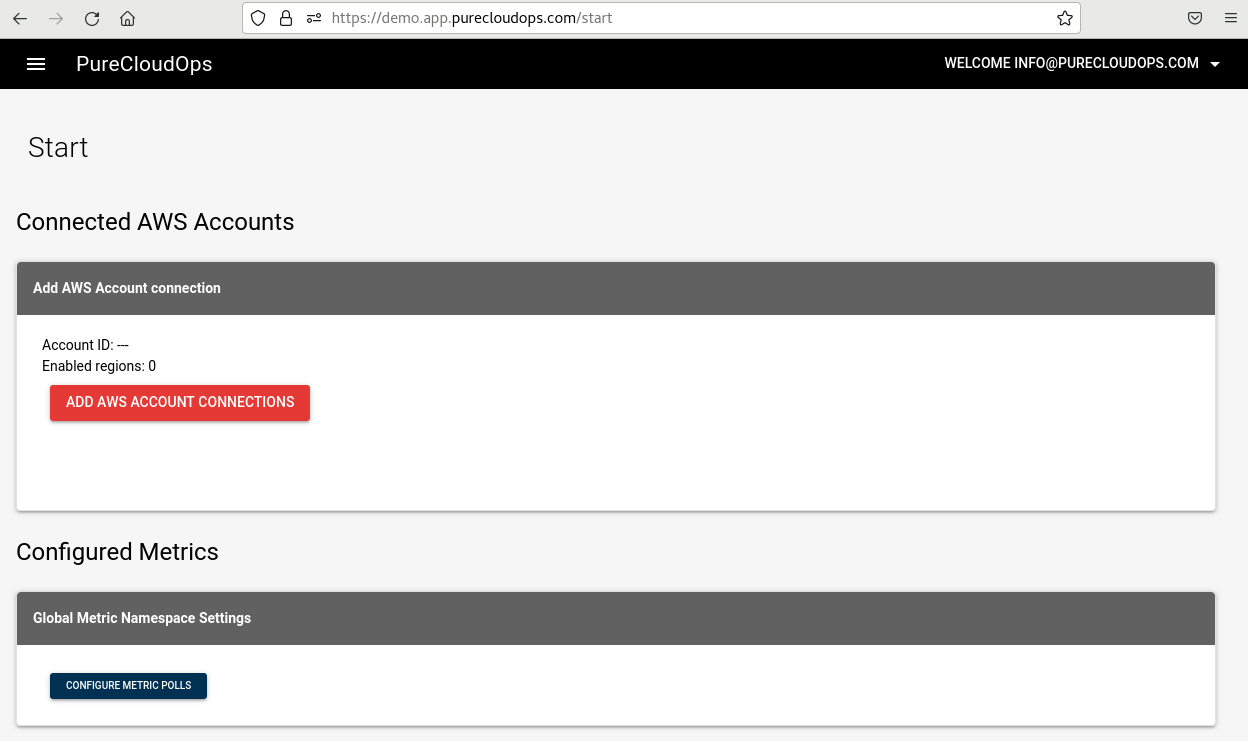
If you already have an account connected, you can navigate to the Connections page from the main menu to add / remove additional accounts.
Connections page
Open the main drop-down menu and choose the Manage account option under the Data Ingress section.
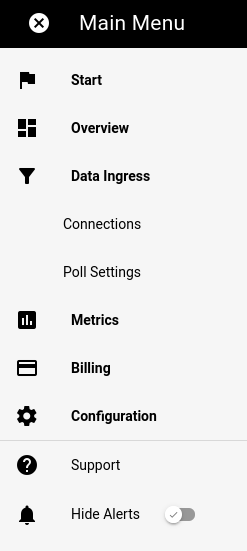
To Add an integration for AWS Monitoring, choose the New account for AWS monitoring icon on the upper left corner of the page to create a new AWS integration endpoint.
![]()
NOTE: If an integration endpoint was setup previously, you can also select the entry and modify it.
In the pop-up window, provide an Account name for the integration. The value will be used within the PureCloudOps interface only to distinguish the different integrations. It is suggested to avoid using spaces in this field.
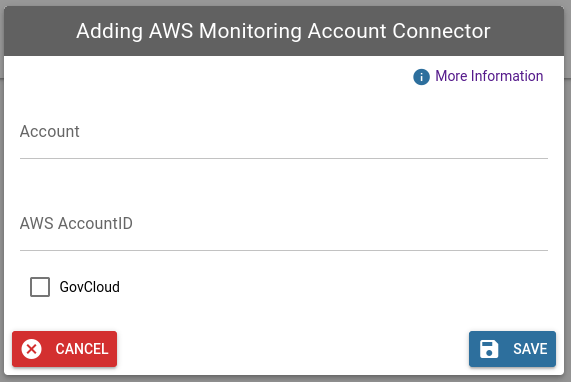
Also, enter the AWS Account ID for your account. Choose the Save button to add the integration endpoint.
For AWS GovCloud support, check the GovCloud box
A new entry should appear in the Manage Connected Accounts section:

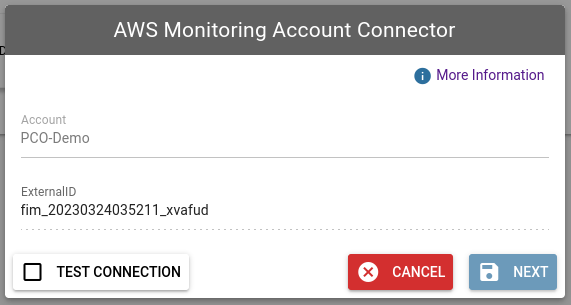
Choose the pencil icon to edit/configure the connector. For the initial configuration, this will bring up a pop-up window, with the Account name and the External ID.
After this point, navigate to your AWS account console to continue the configuration with CloudFormation.
AWS CloudFormation
AWS CloudFormation allows you to configure AWS resources from script/code. This makes deployment easy, and consistent, and greatly decrease the possiblity of errors or mis-configurations.
The following resources will be created on AWS:
- 1 IAM Role
- 2 IAM Policy
While the script is free to use, keep in mind that AWS CloudFormation is a paid service, and you will incur a charge from AWS for using it.
Link to the CloudFormation file on S3 (initialization script):
https://pco-assets.s3.us-east-2.amazonaws.com/cf-templates/PureCloudOps.yaml
Deploying a CloudFormation template
Navigate to the CloudFormation section of the AWS Management Console.
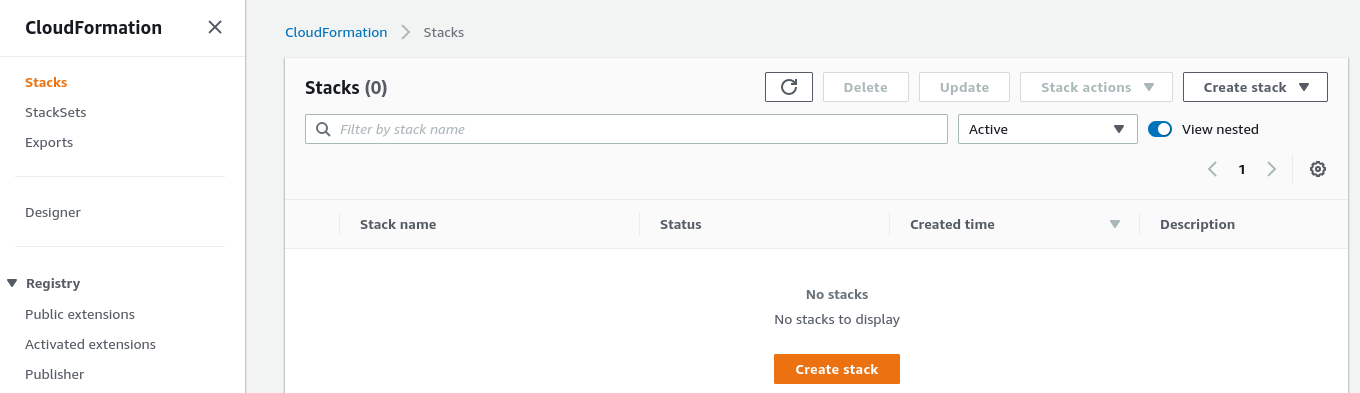
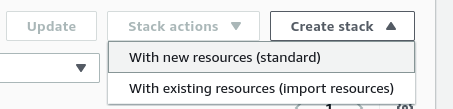
Under the “Stacks” section, choose “Create stack” (with new resources, standard).
On the following page, specify a template, and choose the desired template (using Amazon S3 URL) from above:
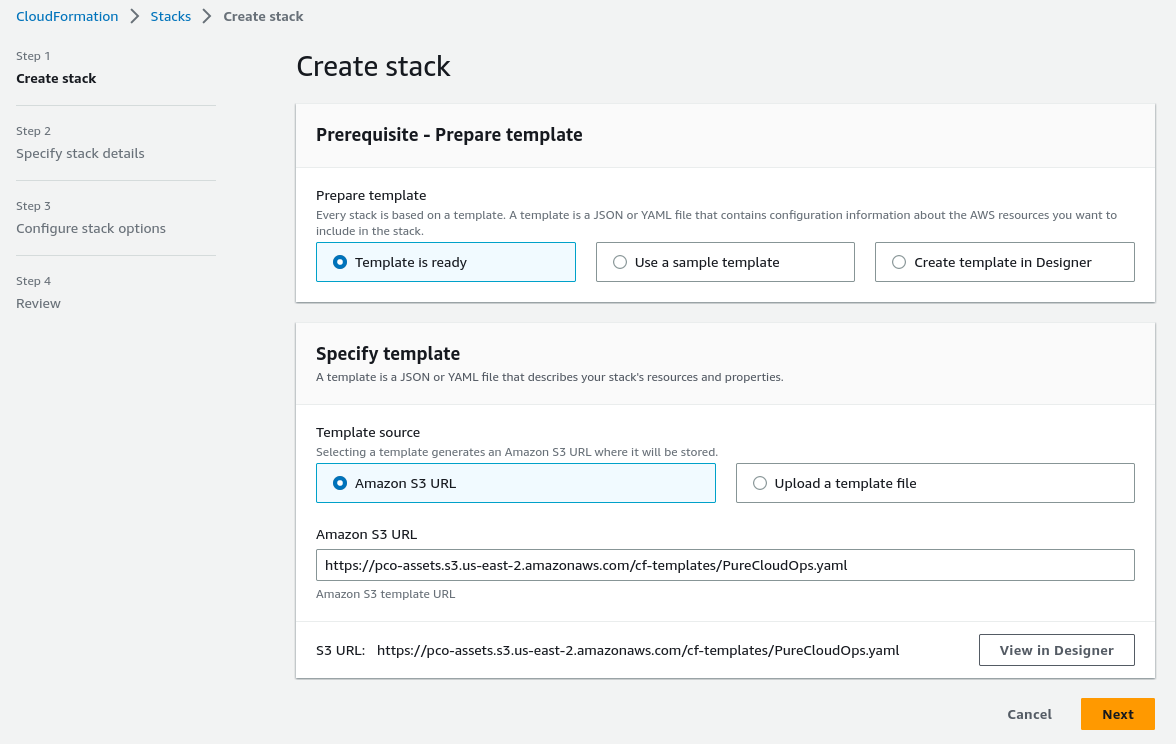
Click Next to continue.
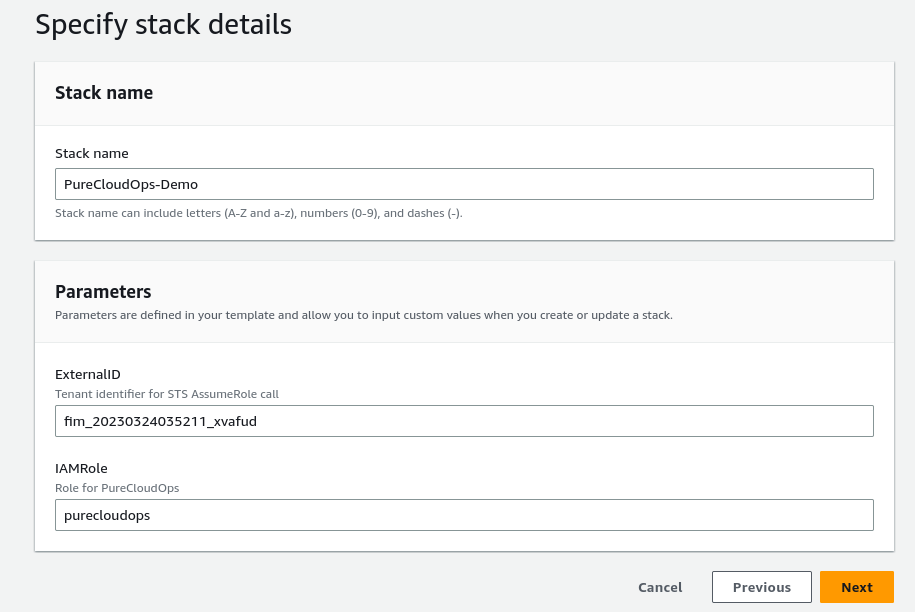
Give this deployment a name, and specify some parameters. You can choose your own name, or keep the default values provided by PureCloudOps.
Click Next to continue.
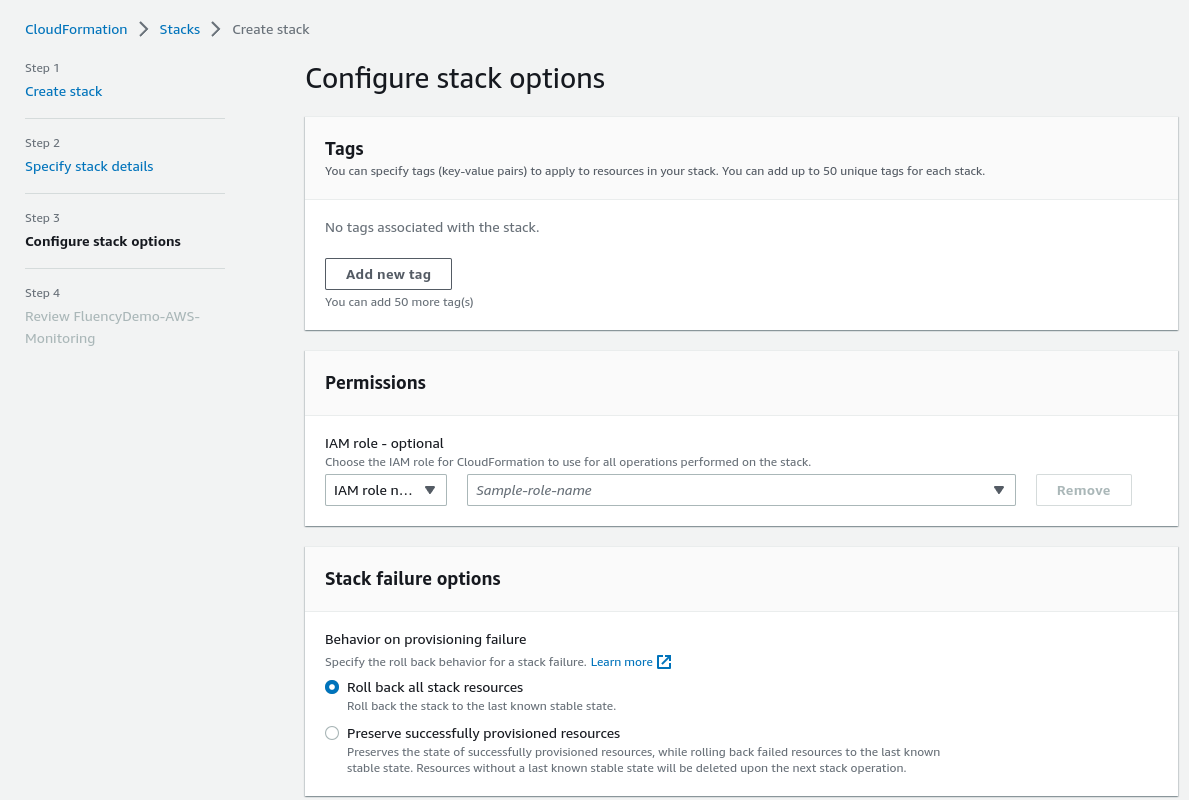
Configure additional items (optional).
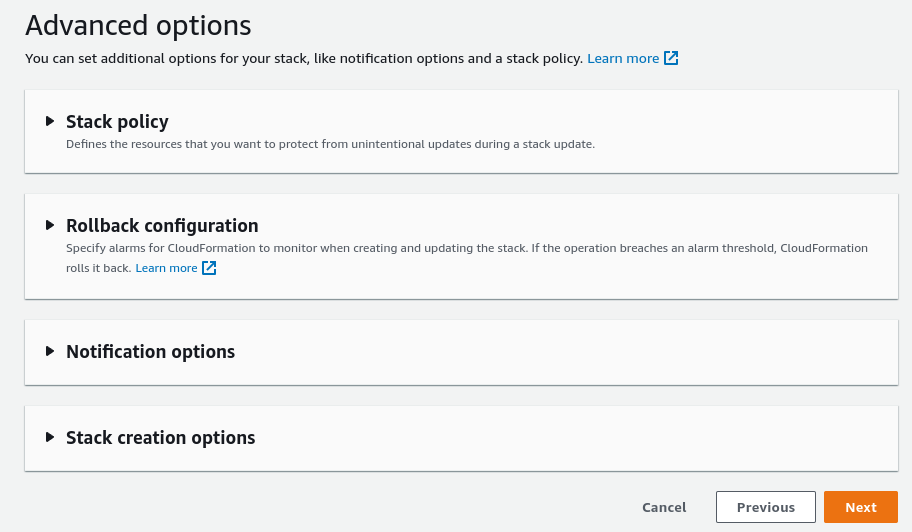
Click Next to continue.
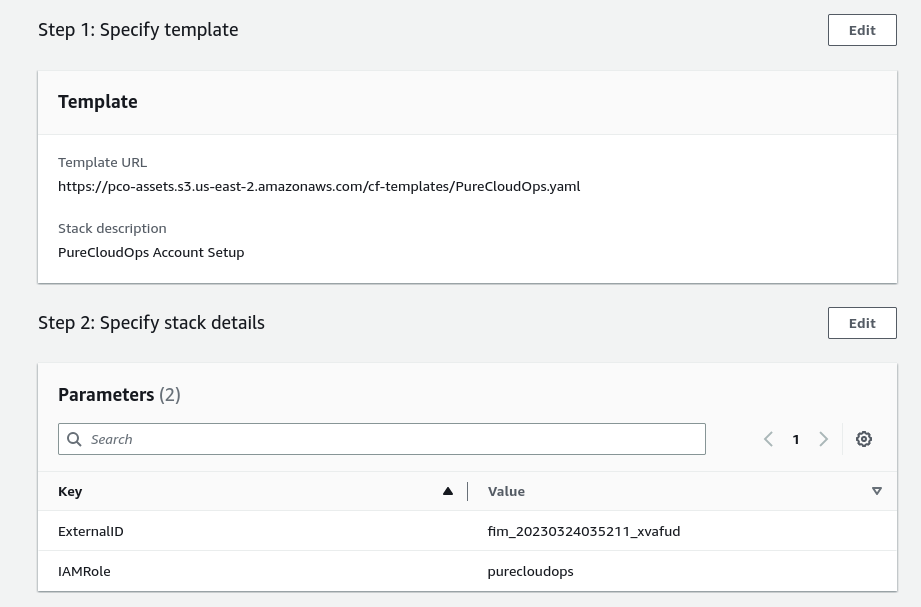
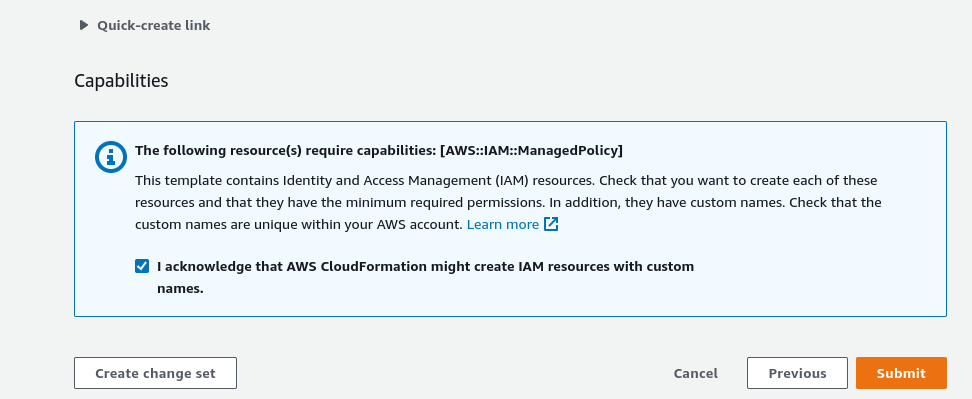
Review the deployment, when complete, choose Create stack to deploy.
The deployment in progress
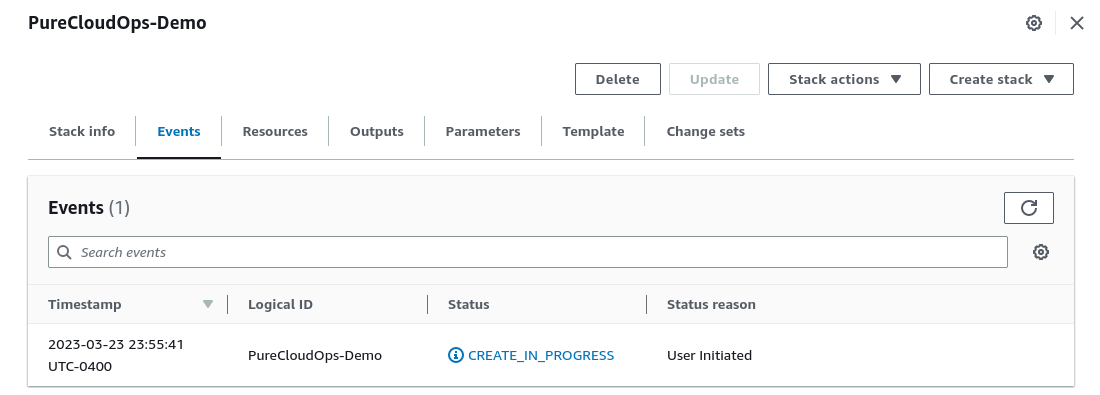
When the deployment is complete, return to the PureCloudOps interface for the following step.
PureCloudOps Web Interface (Part 2)
Return the Data Ingress page, and edit the new entry in the Manage Connected Accounts section:
On the following pop-up, you are given the opportunity to test the configuration using the Test Connection button.
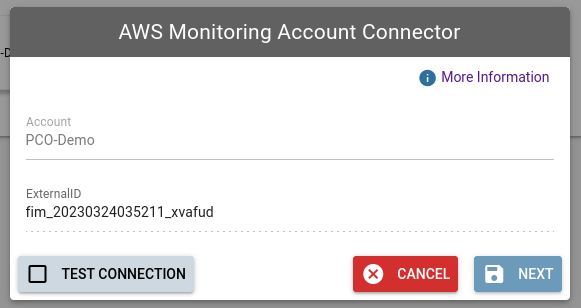
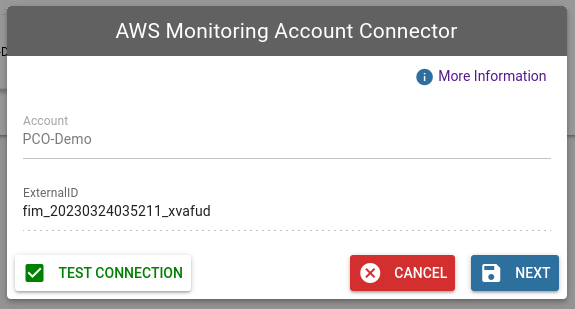
Proceed to the next page, if the test completes successfully. (This is also your last chance to view the ExternalID.)
Adding a Region
You should be directed to the plugin configuration page, or navigate to the plugin configuration page from the Main menu.
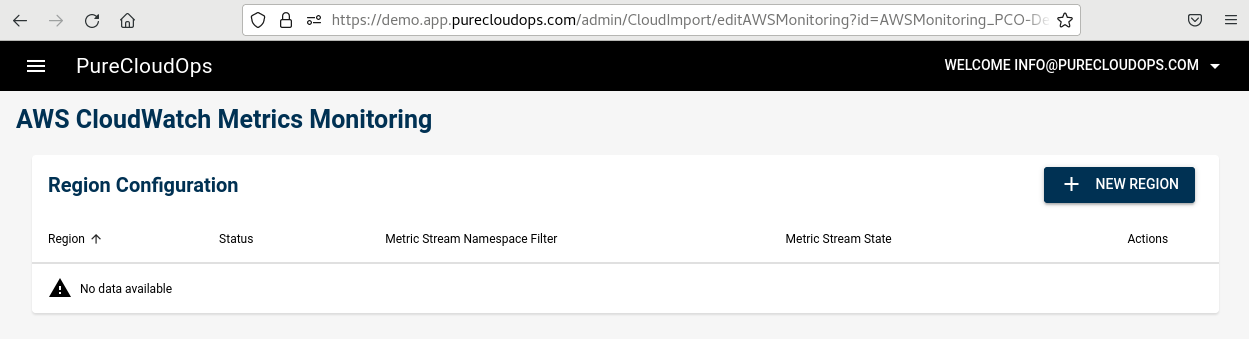
Note: You may be sent to the edit page directly on subsequent visits for the plugin configuration page.
select the + New Region button in the top right to integrate / enable monitoring in a specific AWS Region of your account.
Add Metric Poll Wizard
In the pop-up window, select the appropriate AWS Region to enable. Available Regions are obtained via an API call to your AWS account.
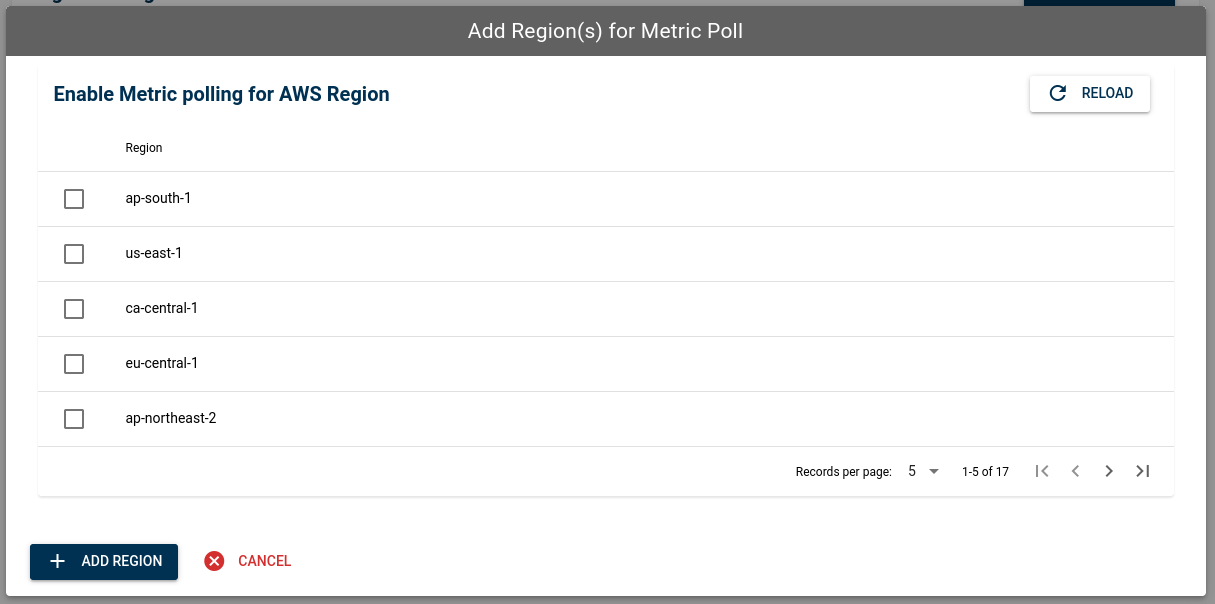
Select the desired Region, and click the Save button.
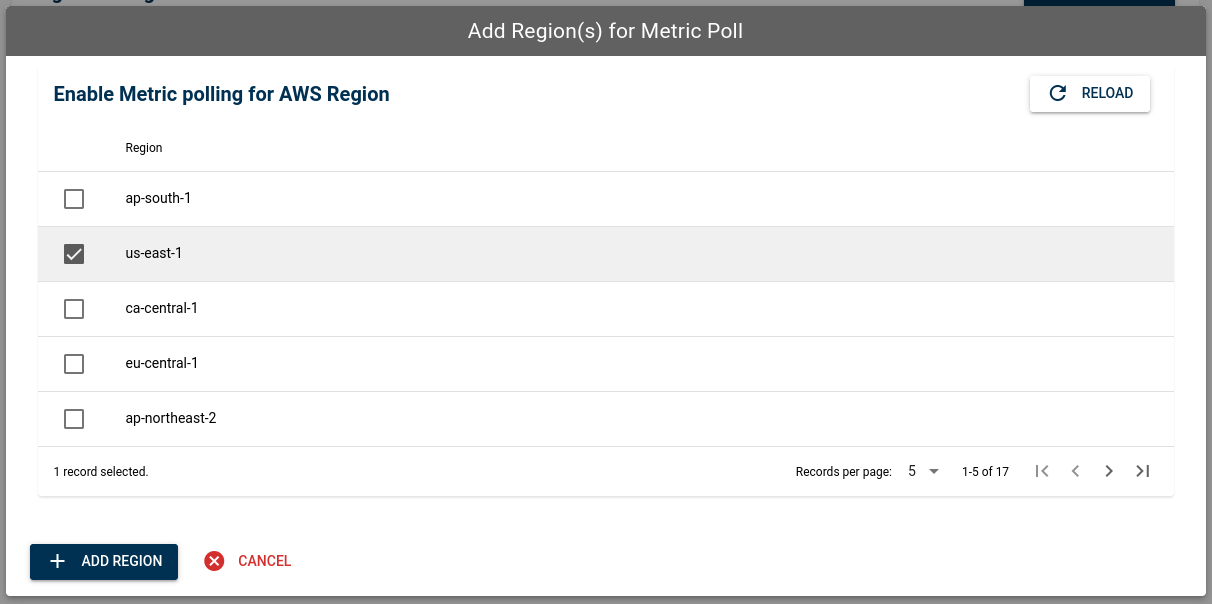
A dialog will confirm the successful region addition, and the new Region will show on the configuration page.

This completes the initial integration.
Configuring Metric Poll Settings
Continue to Poll Settings!
Page last updated: 2023 Mar 25